Limited Time Offer!
For Less Than the Cost of a Starbucks Coffee, Access All DevOpsSchool Videos on YouTube Unlimitedly.
Master DevOps, SRE, DevSecOps Skills!
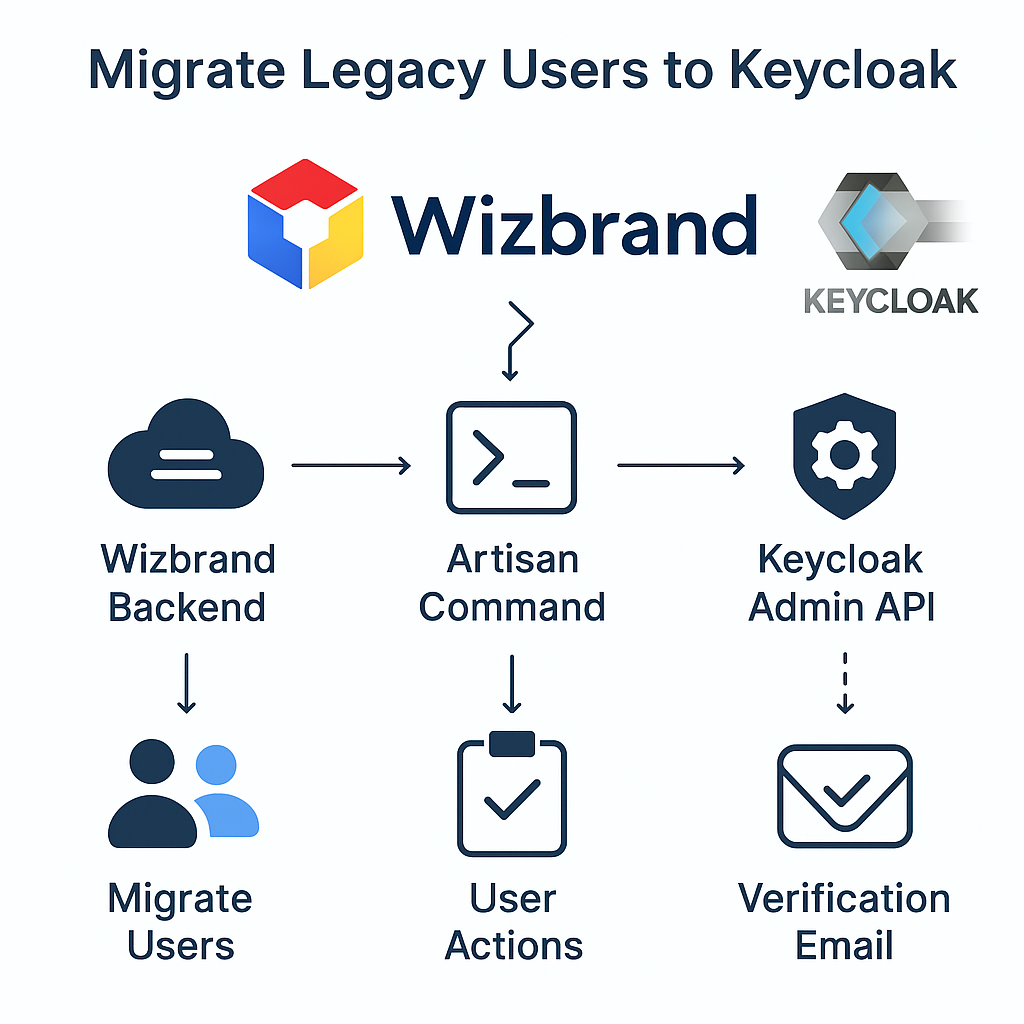
When building a platform like DevOpsSchool with multiple user types such as students, trainers, companies, and consulting firms, one of the biggest challenges is handling authentication and registration rules properly.
You don’t just want users to sign up — you want:
- Students and trainers to use Gmail accounts
- Companies and consulting firms to use official domain emails
- A single login system (SSO)
- A clean and scalable architecture
This tutorial explains how to achieve all of this using Keycloak, following best practices used in enterprise systems.
Why This Architecture is Needed
Let’s understand the core problem.
If you use one single client (like devopsschool-web):
- Keycloak does not know:
- Which project the user belongs to
- Which email rule to apply
- Validation becomes complex and messy
- You end up writing confusing conditional logic
This leads to:
- Bugs
- Security risks
- Poor maintainability
The Correct Approach (Recommended Architecture)
Use:
1 Realm
devopsschool
Multiple Clients
devopsschool-student-web
devopsschool-trainer-web
devopsschool-company-web
devopsschool-consulting-web
devopsschool-admin
Why This Works
Each client represents a specific application or project.
So now:
| Client | Purpose | Email Rule |
|---|---|---|
| student | student portal | only @gmail.com |
| trainer | trainer portal | only @gmail.com |
| company | company portal | only company domain |
| consulting | consulting portal | only consulting domain |
Now validation becomes simple and clean.
How the Flow Works
Each application sends its own client_id during login/register.
Example:
- Student app →
client_id=devopsschool-student-web - Company app →
client_id=devopsschool-company-web
Keycloak automatically knows which client is being used.
Your validation logic uses this to decide rules.
Step-by-Step Implementation
Step 1: Create Realm
Go to Keycloak Admin Panel:
- Create new realm:
devopsschool
This will be your central identity system.
Step 2: Create Clients
Create 5 clients:
1. Student Client
devopsschool-student-web
2. Trainer Client
devopsschool-trainer-web
3. Company Client
devopsschool-company-web
4. Consulting Client
devopsschool-consulting-web
5. Admin Client
devopsschool-admin
Important Client Settings
For each web client:
- Protocol:
openid-connect - Access Type:
- public (frontend apps)
- confidential (backend apps)
- Standard Flow: Enabled
- Valid Redirect URIs:
https://student.yoursite.com/*
https://trainer.yoursite.com/*
https://company.yoursite.com/*
https://consulting.yoursite.com/*
Step 3: Create Roles
Realm Roles
Create:
student
trainer
company_user
consulting_user
Step 4: Create Groups
Create groups:
/students
/trainers
/companies
/consulting
Assign Roles to Groups
| Group | Role |
|---|---|
| students | student |
| trainers | trainer |
| companies | company_user |
| consulting | consulting_user |
Why Use Groups?
Instead of assigning roles manually:
- Assign user to group
- Role is automatically applied
This saves huge effort in scaling.
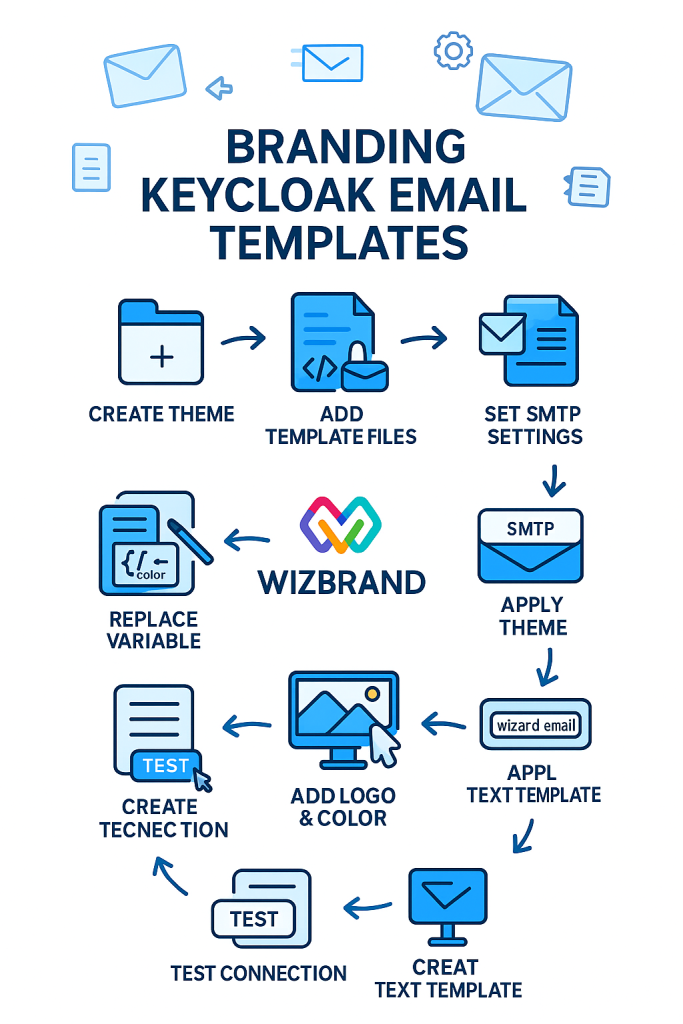
Step 5: Configure Email (Important)
Go to:
Realm Settings → Email
Configure SMTP:
- Host
- Port
- Username
- Password
This is needed for:
- Email verification
- Password reset
Step 6: Domain Validation Strategy
Problem
You cannot trust:
user enters: abc@companyname.com
Anyone can fake this.
Solution: Domain Whitelist
Create a database/config:
Example Table
| Type | Name | Domain |
|---|---|---|
| company | TCS | tcs.com |
| company | Infosys | infosys.com |
| consulting | ABC | abcconsulting.com |
Step 7: Email Validation Logic
Student & Trainer
Allowed:
@gmail.com
Company
Allowed:
- Only domains in database
Consulting
Allowed:
- Only domains in database
Step 8: Implement Custom Validator (Important)
This is the core part.
You must create a Keycloak custom registration validator.
What This Validator Will Do
- Get current client_id
- Get user email
- Extract domain
- Apply rule based on client
Logic Example
if client_id == student:
    allow only gmail.com

if client_id == trainer:
    allow only gmail.com

if client_id == company:
    check domain in company table

if client_id == consulting:
    check domain in consulting table
Validation Examples
Student
✔ abc@gmail.com
✖ abc@yahoo.com
Company
✔ user@tcs.com
✖ user@gmail.com
Step 9: Attach Validator to Registration Flow
Go to:
Authentication → Flows
- Copy default registration flow
- Add your validator
- Set it as REQUIRED
- Bind this flow to your realm
Step 10: Assign Group Automatically
After validation success:
student → /students
trainer → /trainers
company → /companies
consulting → /consulting
Step 11: Project-wise Registration URLs
Each app should use its own login URL.
Example:
Student App
client_id=devopsschool-student-web
Company App
client_id=devopsschool-company-web
Step 12: UI Best Practices
Do not create one common registration form.
Instead:
- Student portal → student registration
- Company portal → company registration
This avoids confusion and improves UX.
Step 13: Testing Scenarios
Student
| Result | |
|---|---|
| abc@gmail.com | pass |
| abc@yahoo.com | fail |
Company
| Result | |
|---|---|
| user@tcs.com | pass |
| user@gmail.com | fail |
Consulting
| Result | |
|---|---|
| user@abcconsulting.com | pass |
| user@random.com | fail |
Common Mistakes to Avoid
1. Using Single Client for All Projects
This creates confusion and breaks validation logic.
2. Trusting User Input for Domain
Never trust:
user types company name
Always validate against database.
3. Not Using Groups
Leads to manual role assignment problems.
4. Not Separating Admin Client
Security risk.
Advantages of This Architecture
- Clean design
- Easy validation
- Scalable
- Secure
- SSO enabled
- Easy maintenance
Final Conclusion
This setup gives you:
- One central identity system
- Multiple project-specific rules
- Clean separation of concerns
- Strong validation control
- Enterprise-level scalability