Limited Time Offer!
For Less Than the Cost of a Starbucks Coffee, Access All DevOpsSchool Videos on YouTube Unlimitedly.
Master DevOps, SRE, DevSecOps Skills!
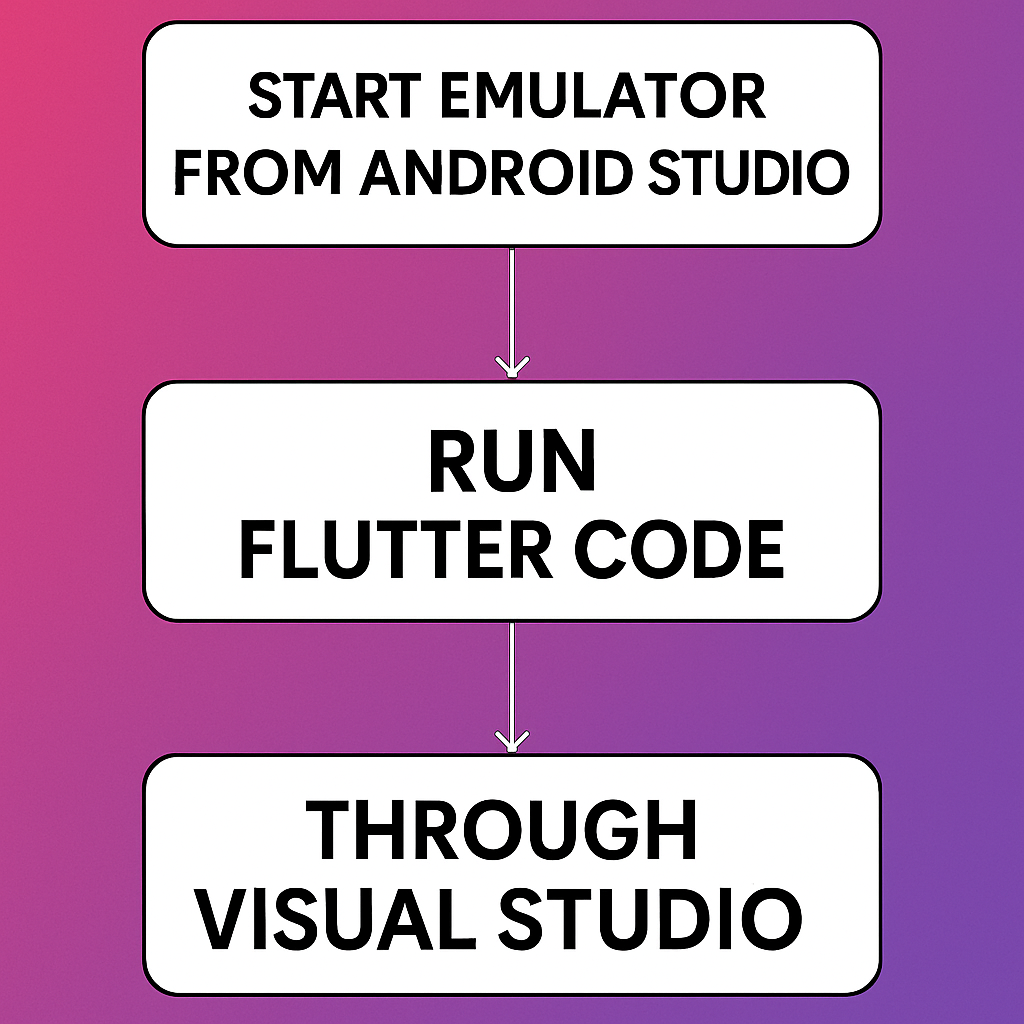
Step 1: Start the Android Emulator Using Android Studio
- Open Android Studio on your computer.
- Navigate to the top menu and click on Tools.
- From the dropdown, select Device Manager.
- A new window will open showing a list of configured Android Virtual Devices (AVDs).
- Find the device you want to use and click the Play button next to it.
- Wait for the emulator to fully load and reach the home screen.
If you don’t have any virtual devices configured:
- Click on Create Device in the Device Manager.
- Follow the wizard to select a device model, choose a system image (such as API 33), and finish the setup.
- Once created, launch the new emulator.
Step 2: Open Your Flutter Project in Visual Studio Code
- Launch Visual Studio Code.
- Go to the top menu and select File > Open Folder.
- Navigate to your Flutter project directory and open it.
- Wait for VS Code to initialize the Flutter environment for the project.
If you have the Flutter extension installed, it should detect the project and activate Flutter-specific features automatically.
Step 3: Check Your Flutter Environment
Open the terminal in VS Code by going to Terminal > New Terminal, and run:
flutter doctor
This command checks the health of your Flutter setup. Ensure the output shows everything is installed and configured properly, particularly:
- Flutter SDK
- Android toolchain
- Android Studio
- VS Code
- Connected device (emulator)
If there are issues, resolve them as instructed in the output.
Step 4: Select Emulator as Target Device in VS Code
- In the bottom-right of the VS Code window, click on the device selector (if it shows “No Device”, click there).
- A list of available devices will appear.
- Select the emulator that you started from Android Studio.
- It may take a few seconds for the device to be connected.
Step 5: Run the Flutter Application
Option 1: Using VS Code GUI
- Press F5 to start debugging and launch the app.
- VS Code will build the Flutter application and deploy it on the selected emulator.
Option 2: Using the Terminal
In the terminal inside VS Code, run:
flutter run
Flutter will compile the code and install the app on the emulator.
Step 6: Use Hot Reload and Hot Restart
Once the app is running:
- Type
rin the terminal to perform hot reload. - Type
Rto perform hot restart.
This helps during development by speeding up the testing of UI and logic changes.
Optional: Launch Emulator from Terminal (Without Android Studio)
If you’d prefer not to open Android Studio each time:
- Open your terminal.
- List your available AVDs using:
emulator -list-avds
- Start a specific emulator using:
emulator -avd <emulator_name>
Replace <emulator_name> with the name of your virtual device.
Conclusion
You now have a complete development workflow using Android Studio to launch emulators and Visual Studio Code to write and run Flutter apps. This setup is efficient and commonly used by Flutter developers for fast iteration and testing.