Limited Time Offer!
For Less Than the Cost of a Starbucks Coffee, Access All DevOpsSchool Videos on YouTube Unlimitedly.
Master DevOps, SRE, DevSecOps Skills!
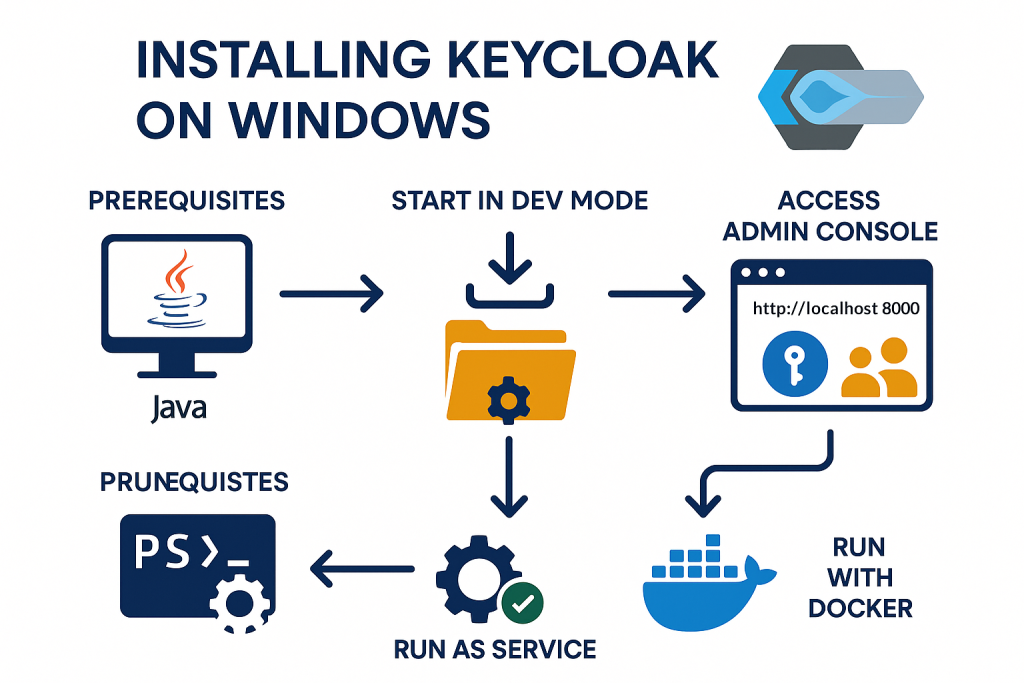
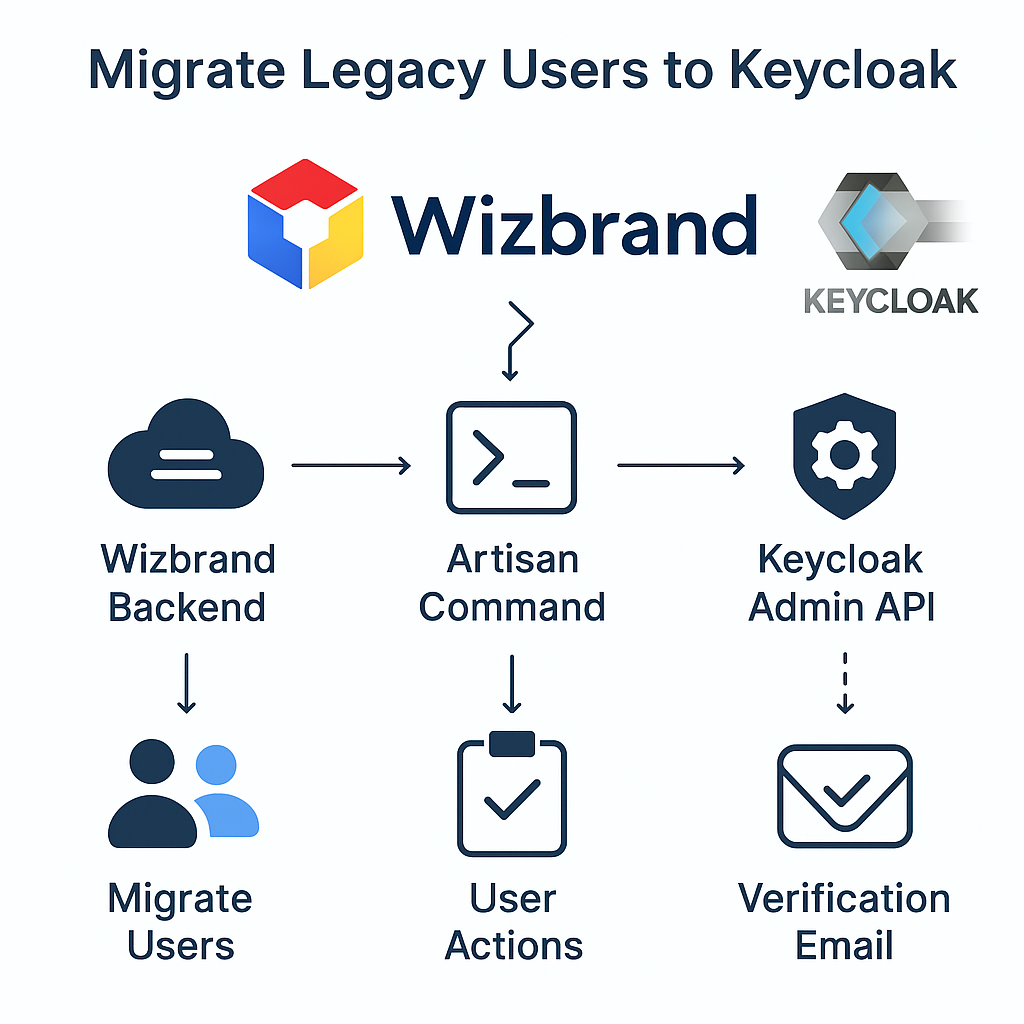
Keycloak is an open-source Identity and Access Management (IAM) solution that provides features like Single Sign-On (SSO), user federation, social login, and fine-grained access control. In this tutorial, we’ll walk step-by-step through installing Keycloak on Windows, configuring an admin account, and running it both manually and as a background service.
Prerequisites
Before starting, make sure you have:
- Java Development Kit (JDK 17 or later)
- Download from Adoptium Temurin or Oracle JDK.
- Verify installation:
java -versionExpected output:openjdk version "17.x.x" ...
- Windows PowerShell or Command Prompt (already available on Windows).
- (Optional) Docker Desktop if you prefer running Keycloak inside Docker.
Download Keycloak
- Visit the Keycloak official downloads page.
- Under Keycloak – Quarkus distribution, download the latest
.zipfile (example:keycloak-26.0.0.zip). - Extract it to a directory, e.g.:
C:\keycloak
Start Keycloak in Development Mode
- Open PowerShell and navigate to the Keycloak
binfolder:cd C:\keycloak\bin - Start Keycloak with admin credentials:
kc.bat start-dev --http-port=8080 --hostname-strict=false - The first time, you must define an admin user:
setx KEYCLOAK_ADMIN admin setx KEYCLOAK_ADMIN_PASSWORD admin123 kc.bat start-dev - Wait until you see a message like:
Keycloak 26.0.0 (Quarkus) started in dev mode on port 8080
Access the Admin Console
- Open a browser and go to:
👉 http://localhost:8080/ - Login with the admin username/password you set (
admin / admin123). - You’ll land in the Keycloak Admin Console, where you can:
- Create realms (isolated security domains).
- Add clients (apps integrating with Keycloak).
- Manage users & roles.
- Enable social login providers (Google, GitHub, etc.).
Running Keycloak as a Windows Service (Optional)
If you want Keycloak to auto-start on boot:
Option A: Using NSSM (Non-Sucking Service Manager)
- Download NSSM.
- Install a service:
nssm install keycloak - In the GUI:
- Path:
C:\keycloak\bin\kc.bat - Arguments:
start-dev - Startup directory:
C:\keycloak\bin
- Path:
- Save and start the service:
nssm start keycloak
Option B: Using Built-in sc.exe
sc create keycloak binPath= "C:\keycloak\bin\kc.bat start-dev" start= auto
sc start keycloak
Running Keycloak with Docker (Alternative Method)
If you don’t want to install Java locally:
- Make sure Docker Desktop is running.
- Run Keycloak in a container:
docker run -p 8080:8080 ` -e KEYCLOAK_ADMIN=admin ` -e KEYCLOAK_ADMIN_PASSWORD=admin123 ` quay.io/keycloak/keycloak:26.0.0 start-dev - Access at http://localhost:8080/.
This method is great for quick testing.
Production Considerations
For production deployments:
- Use
kc.bat buildandkc.bat start(instead ofstart-dev). - Configure HTTPS with proper certificates.
- Connect to an external database (PostgreSQL, MySQL).
- Run Keycloak behind a reverse proxy (NGINX, Apache, or HAProxy).
- Enable monitoring/logging.
Final Verification Checklist
- Java installed and working
- Keycloak downloaded and extracted
- Admin account created
- Keycloak accessible on
http://localhost:8080 - (Optional) Runs as Windows service
- (Optional) Runs inside Docker
Conclusion
You’ve successfully installed and run Keycloak on Windows. You can now explore realms, add clients, and integrate authentication into your apps. Whether you use the native install or Docker, Keycloak provides a powerful and flexible identity management solution.